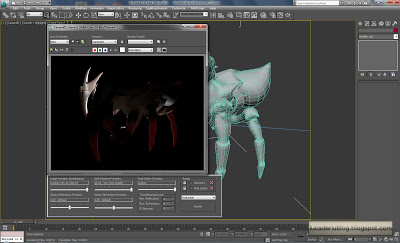
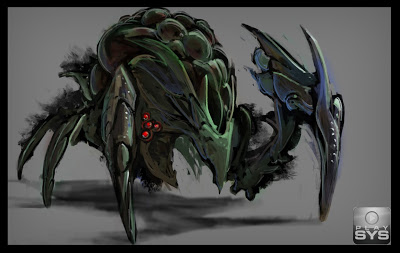
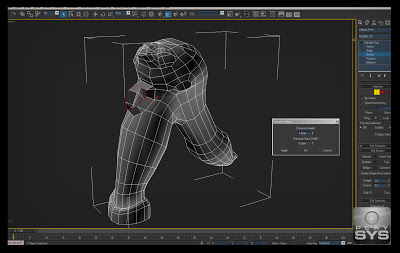
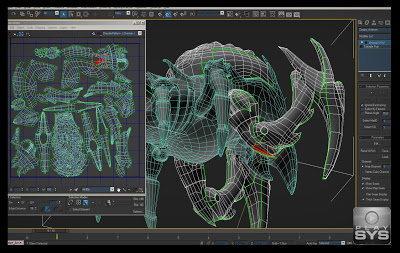
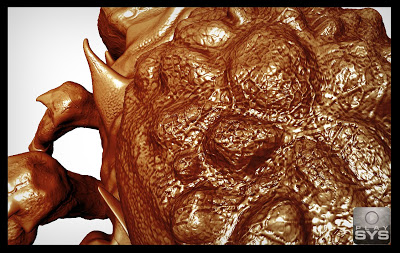
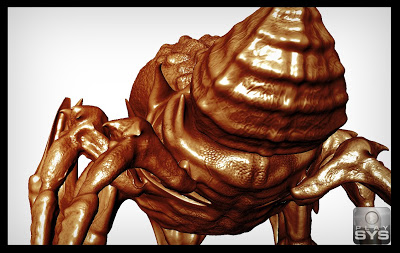
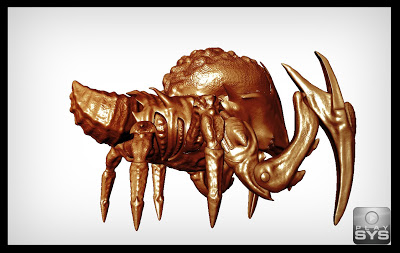
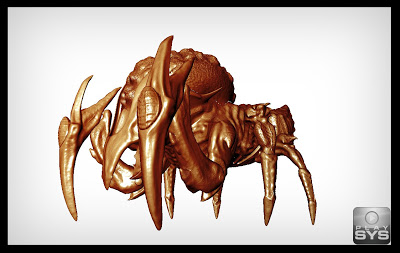
After some weeks of work with 2D graphics, I finnaly got back to 3D tasks.
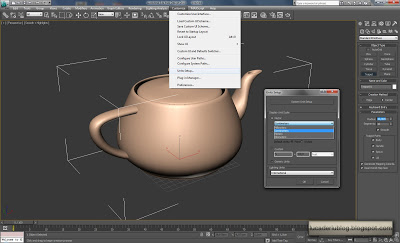
I decided to spend some time playing with Arak and the Sub Surface Shader offered by mental ray, inside at 3ds Max 2010. I tweaked the parameters for 1 hour and have to say that they are really quick to learn and use.
The model I used is enought simple and lite for rendering tests.
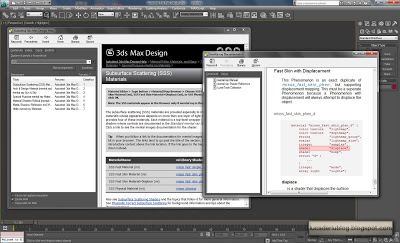
The first problem is that 3ds Max guide has no section that covers theese parameters: if you open both the official 3ds max guide or the deeper mental Ray’s one, you will not find lot of informations out of the theory behind SSS and how it is simulated/computed.
I try to explain something here, maybe someone else will find theese tips useful.
The first thing to do is to understand a very important fact: world units and scale importance.
Sub Surface Scattering renders the surfaces, considering the quantity of light that is absorbed and scattered trought the model.
If you have a thin wall, let’s say 2 millimeters thickness, a strong light setup and a scatter propagation on 1 meter, for sure you’ll not obtain what you expect.
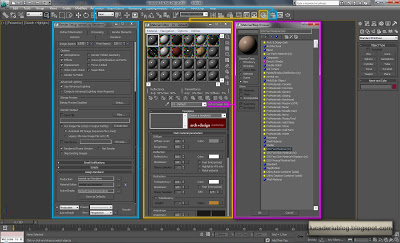
Now let’s apply a Sub Surface Scatter shader (you must enable mental Ray if you changed the renderer for production purpouses). The one I selected is the simplest SSS shader offered by mental Ray, and we must understand how it works before proceeding.
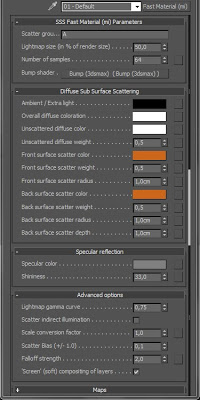
When working with SSS Shaders you have to think at the color of the unlit surfaces, the color of the enlight areas and the specular, exactly as a traditional shader PLUS a color of the mesh penetrated by light. Now let’s see what the shader offers to us in the Diffuse Sub Surface Scattering rollout.
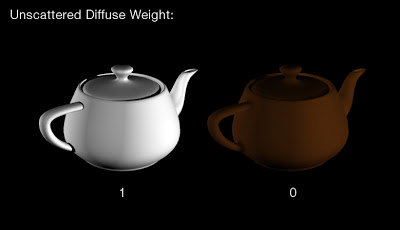
The first important parameter is the numeric value called “Unscattered Diffuse Weight”. This parameter determines the mix of the traditional shaded areas and the scattered one. Imagine it as a sort of blending beetween two different materials, one simple and one with light penetration capabilities.
For better understand this value, try to set it at 1 and render and then set it to’ 0 and render again.

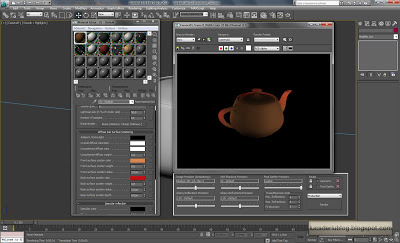
Depending on your light setup, you will have a render similar to this: the first with value = 1 has a strong value of the Unscattered Diffuse Color while the second with the value = 0 has a null Unscattered Diffuse Color and a full Scattered Color.
Watch the Unscattered Diffuse Color in the parameter just up, that’s the color of the first render.
Now that we know what is and how to change the Unscattered Color we need to understand what is the Scattered Color.
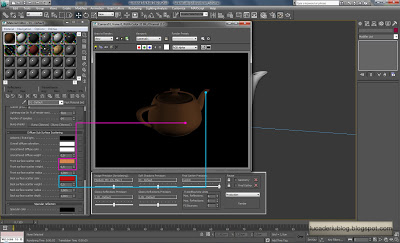
In this image I set to 0 the Unscattered Diffuse Weight and let the shader to compute the Scattered Color, based on the two colors available (Front and Back) plus their weight. Look at the image descriptions, colors and values and you’ll get it, it’s really simple how it works!
Again, give a look at my values. I changed a little the front and Back color’s weights and changed the radius+depth too. Consider that my model has a radius of 10 centimeters. At the beginning of this article I wrote about the importance of the scene scale, now you know why.
Note that you can diminish the Unscattered Weight changing the color instead of the value. For example, if you set the color to pure black 0.0.0 and have a weight of 100, the result is the same as a random color plus a Weight of 0.

Generally I use this trick in my diffuse color in the standard materials, and here in the SSS the standard diffuse is the Unscattered Diffuse Color. As you can see 3ds Max lets you use a numeric value or a flat color by default, but you can change it with a procedural or textured one.
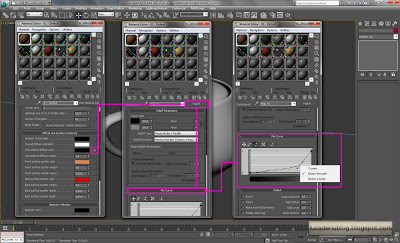
In this case I used the Falloff shader on the Diffuse Color to obtain a Maxwell style material. Generally I work mostly with the Next Limit’s renderer and I really like how it treats shaders.
I simply put a dark brown unscattered color for perpendicular camera rays and a medium grey/blue for the parallel rays. I changed the transition value, adding a Bezier key and here we are:

Not bad, the mesh now has a big rim light effect that detach it from the background. Remember that using low values is always preferable because you’ll obtain a perceptible effect and avoid to make it too much synthetic.
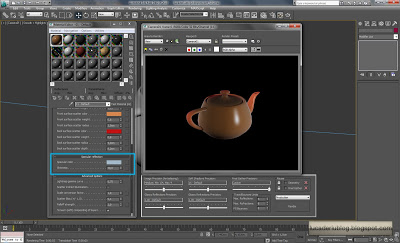
Now our teapot looks really interesting respect the beginning, but you can notice that it has no specular component. This is due to my previous tweak at the Specular Color inside the Specular Reflection rollout. I changed it to pure black, that means no specular values and no reflections. Now is time to change the color and the Shininess value.
In the render above you can see the specular color and it’s roughtness.
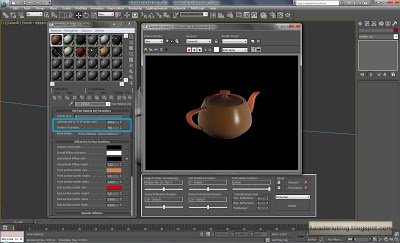
We are ready for our final render but before we need to change the quality values at the top of the shader. Set the lightmap value at 100% of the render size (the Light map of the Sub Surface Scattering effect) and the computation sample.
Lower values = low resolution but quick preview
Higher values = high quality but long render time
Enlarge this image to see the difference with the previous. Maybe I exagerated with parameters, this is only an example and was done because the scene is really simple and quick to render, but remember that in production timing theese parameters must be precisely calibrated, expecially in animations.
This is all for this simple mesh and article. Now I apply the material to my mesh and render again.
The result is really important: if you change the light setup, the scene or simply the mesh, the result can change drastically. I suggest always to proceed step by step in scene construction and in parameter tweaking.
This is not a professional result so I will have to work on it a little more. The following video is obtained working with a more complicated SSS shader that considers displacement too.
Give a comment if you find this post interesting.

